Replacing coach lights an easy project
Q: I would like to replace my coach lights on either side of my garage, but I haven’t done this type of project before. How do I do it?
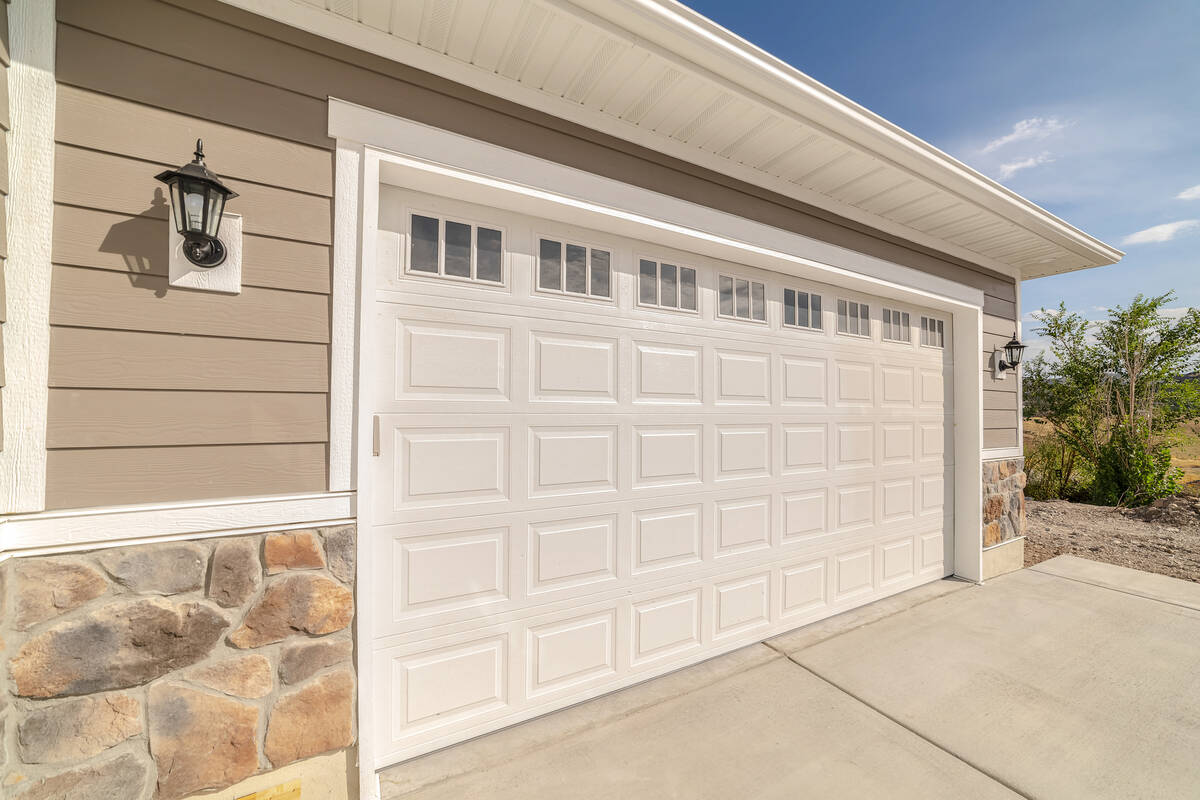
A: Replacing coach lights is a perfect project for a would-be electrician. In fact, you don’t even have to use a ladder if you don’t have one, but you will need to stand on something solid to reach the lights.
Before you replace the coach lights, you might check out the exterior porch light near your front door. This light fixture is typically a matching style with the coach lights. My point is if you are replacing the coach fixtures with a different color or style, you may want to consider replacing the light at your front door as well.
Removing the old fixture is really easy. First, make sure the power is off to the fixture by turning off the power at the main panel.
The lighting fixture will be attached to the wall by two small threaded rods, which will be covered with decorative nuts that you simply unscrew. The base of the lighting fixture will pull off the wall, but there will be wires from the junction box attached to the fixture wires. While you support the light fixture, unscrew the wire nuts that connect the house wires to the fixture wires, then remove the fixture.
The new fixture goes in as easily as the old one came out. Strip about three-eighths of an inch of insulation from the fixture wires. Use wire nuts and connect the fixture wires to the circuit wires. Connect the white circuit wire to the white fixture wire and the black circuit wire to the black fixture wire. Then, attach the green grounding wire to the bare copper ground wire in the box. Carefully tuck the wires into the box and place the lighting fixture over the two threaded rods.
Some fixtures come with a sheet of foam that fits in between the fixture and the wall. The purpose of the foam is to block out the weather. If your fixture has one, slip it in between the wall and the fixture before you connect the wires. The wires will easily thread through the hole in the center of the foam.
Once everything is connected, tighten down the nuts that hold the fixture to the threaded rods and this will compress the foam as you tighten. Doing that will help fill voids in between your wall surface and the fixture base.
Some stucco finishes are very rough, so you may need to lay down a bead of caulking around the perimeter of the fixture’s base.
Flip the power back on and enjoy the new look of your home.
Mike Klimek is a licensed contractor and owner of Las Vegas Handyman. Questions may be sent by email to handymanoflasvegas@msn.com. Or, mail to 4710 W. Dewey Drive, No. 100, Las Vegas, NV 89118. His web address is www.handymanoflasvegas.com.