
Hard freeze will kill moringa tree if not managed correctly


Q: I planted a moringa tree for its health benefits. I understand it is native to the tropics. Can you tell me how to grow it in this climate?
A: You know that moringa will be killed back to the ground every time we have a hard freeze. For this reason, we have to manage it similar to bougainvillea. Moringa grows on its own roots so we don’t have to worry about suckers developing from a rootstock like we do with most tender citrus.
Moringa is one of those plants touted for its health benefits. It is native to tropical and subtropical South Asia and has spread to Africa, Southeast Asia and more recently Latin America where the leaves and pods are used in cooking. Most recently it has been labeled a “superfood” by the media.
Moringa also is called the horseradish tree, drumstick tree or malungay. It will grow here but it has to be managed differently than in the tropics. Establishment in our desert soils is similar to any fruit tree by using compost to amend the soil during the time of planting. This is a tree I would mulch with wood chips, not rock mulch.
Growth rates of this tree are extremely rapid and you can expect 6 or more feet of growth during the first year if it’s given enough water. This is a large tree in the wild and it will want to have one central trunk.
You should discourage this central trunk by cutting it close to the ground after it gets about 2 to 3 feet tall. This pruning cut will encourage suckering from the base of the tree, which is what you want. You should probably grow it as a shrub, not a tree, in our climate.
Let it get damaged in the first light freeze of the winter. After the freeze has passed, cut the plant to the ground and protect it during very cold weather.
You can do this by throwing a blanket over it and preventing the blanket from blowing away during high winds. Remove the blanket during warm daytime temperatures.
Fertilize it with your favorite high nitrogen fertilizer that promotes leaf and stem growth.
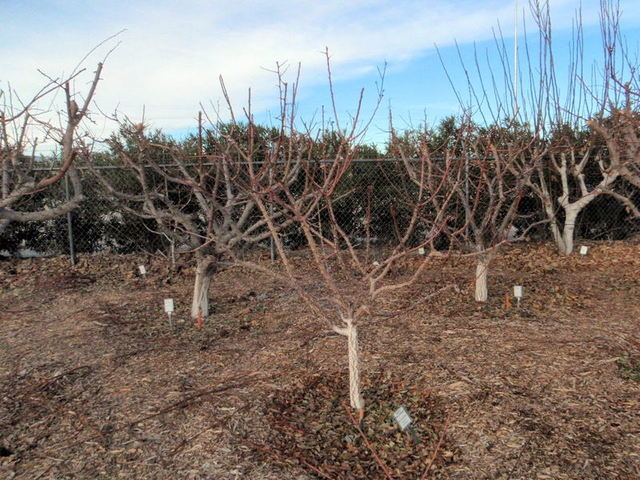
Q: I have added some fruit trees such as Asian pear, peach and apricot to my yard. When is the best time for pruning these trees?
A: The pruning of fruit trees is done for two reasons: establishing the architecture or structure of the tree and encouraging the production of high-quality fruit.
When purchasing a tree and its structure needs improvement, you should prune for improved structure immediately after planting and not wait until the end of the growing season.
With established trees, major improvements to the architecture of an established tree that require a pruning saw or loppers should be done in the winter months. Smaller changes in its structure requiring hand pruners could be done anytime.
I encourage summer pruning during the month of April and early May in our climate. Summer pruning focuses on removing aggressive vertical growth that has grown since spring. Sometimes we refer to this growth as “suckers” or “watersprouts.”
Summer pruning is used to reduce the interior shading of fruit trees, which decreases production and helps keep the size of fruit trees smaller.
Strong vertical growth is seldom ever fruitful. This type of growth should be removed and is easy to do. Pulling downward on immature watersprouts will remove them cleanly and efficiently without using pruning shears.
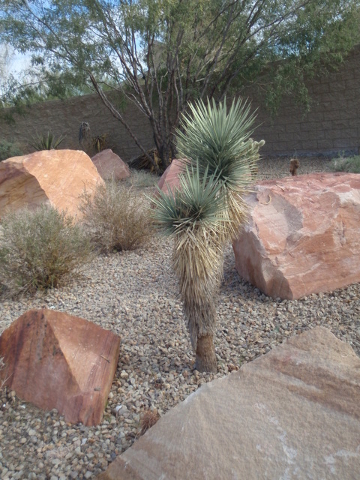
Q: I am lucky to have a Joshua tree that is about 3 feet tall and I am thinking about moving it now that it has been in the ground for five or six years. Am I going to be successful in moving it or do you think I will kill it?
A: Joshua trees are difficult to move from the wild but much easier when it has been planted once and watered with drip irrigation. It should move OK. Your major precautions are to make sure its new home drains water easily and not to overwater it after planting.
I would avoid moving it when it is hot but you could move it now during the spring or fall months.
Dig the hole where it will be planted ahead of time. Fill this hole with water and make sure it drains in a few hours. Amend the soil taken from the hole with about 25 percent compost and use it for backfilling the hole after planting.
Add a handful or two of a high phosphorus fertilizer to this soil mix to encourage rooting. It will be important to stake the tree the first season after planting to keep the roots from moving during establishment.
Take as much of the root system as possible when you move it to its new home. There will be far less shock to the plant and better establishment if the roots are disturbed as little as possible.
Most of the roots will be close to the drip emitters or source of water and within about 12 inches of the soil surface. When you move it, take as much of the soil around the roots as possible and plant it with this “root ball.”
Make a mental note of the north side of the tree. Orient it the same direction as it was previously.
Do not water too often. You can overwater it by giving it more water in a single watering but do not give it water more than every three weeks.
Q: I know of fertilizer systems that friends have linked to their home yard watering systems. These can be adjusted as to the quantity of fertilizer added to the water. However, it seems this might be quite a bit of fertilizer applied to the plants. Yet, a neighbor is very enthusiastic about the benefits. Can you advise me on this subject?
A: These fertilizer systems have different methods of injecting fertilizer into the water. They range in different prices based upon how precise they can deliver fertilizer. Collectively we call them fertilizer injectors. They can be adjusted so they deliver a very tiny amount of fertilizer or deliver a lot of fertilizer at one time.
Fertilizer injectors were designed primarily for agriculture and commercial horticulture where one type of plant is grown or plants grown with similar water and fertilizer requirements. Their primary purpose was to save labor cost.
Several types of injectors are available for home landscapes in a range of prices. The primary difference in these injectors is their level of precision.
The primary advantage to the homeowner is less labor, which saves time. Some may argue it also saves the homeowner money and the landscape looks better. Both are arguable but I don’t think anyone can argue it is not a timesaver. I will go into more detail on my blog.
The primary disadvantage for homeowners is that all plants that receive water at the same time also receive the same kind of fertilizer. When fertilizing plants by hand, you have the option of giving them different types of fertilizers, not all the same kind.
Plants that receive more water also receive more fertilizer and the reverse is true. The application of fertilizer in precise amounts should also require a very efficient irrigation system. These go hand in hand.
In short, make your decision based upon the saving of time and labor. All of the other points are arguable and may or may not apply.
Bob Morris is a horticulture expert living in Las Vegas and professor emeritus for the University of Nevada. Visit his blog at xtremehorticulture.blogspot.com. Send questions to Extremehort@aol.com.


