Pedi, Set, Go


Nothing kills the fashion buzz brought on by a beautiful pair of sandals like neglected feet. If tightening your beauty budget has made your bed mate long for the soft touch of a Brillo pad, we have some advice. Either sport ankle boots through the Las Vegas summer or learn the art of the home pedicure.
"The total time for a do-it-yourself pedicure should take no more than 40 minutes," says Jennifer Frederick, spa director at Ritual Salon & Spa. "We're out in the sun so much and we wear flip-flops practically year round (in Las Vegas). You're feet are going to dehydrate."
The experience may not compare to the spa pedicures you once indulged in biweekly, but the results will. Here are the essentials of a home pedicure, courtesy of Frederick.
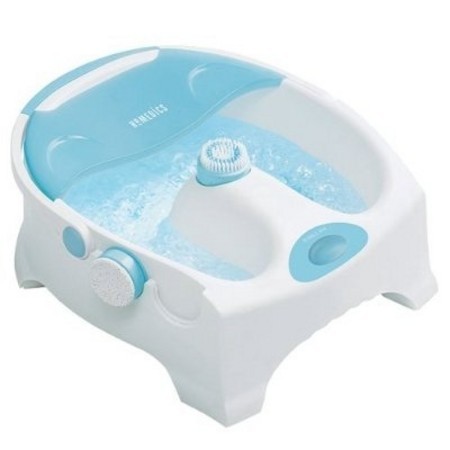
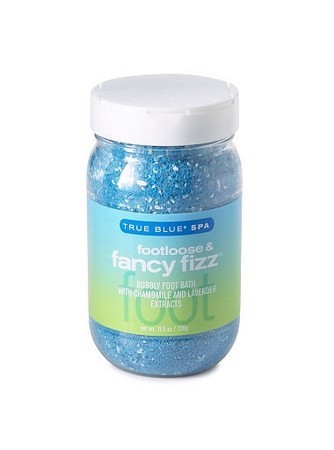
FOOT SOAK
Novices will get by with a large bowl, but the more pedicures you perform yourself the more attractive a $30 jet foot tub becomes. If you can't get your gossip rag fix then you'll eventually insist on the bubbles. Whichever your preference, remember hot water alone doesn't do the trick. Frederick recommends creating a foot soak that doesn't exceed a gallon and adding to it 1 tablespoon of baking soda and 2 tablespoons of an essential oil. (The bath beads that tend to come with any lotion gift set work well for the essential oil.) Both will loosen the skin's surface and prepare them for the scrub down that's to come.
Don't: Use more than a gallon of water; soak mix won't be effective.
Estimated time: 10 minutes
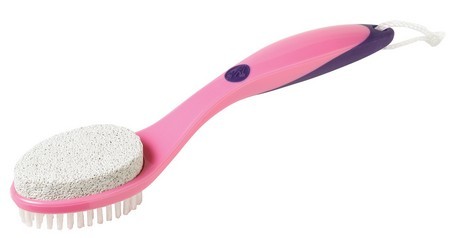
EXFOLIATION
This step will allow you to play footsie again without anyone getting hurt, but only if you have the right tools. "I personally recommend a pumice stone, but you can also use a foot file," says Frederick. The key is to buff, not to scrape, shave or do anything else that could draw blood. Frederick notes that anything other than buffing is a quick fix that will likely come back even quicker. Work the rough spots -- usually the heels and balls of feet -- until they feel like you've never slipped into a stiletto in your life: soft and smooth.
Don't: Use anything that shaves or scrapes skin.
Estimated time: 12 minutes
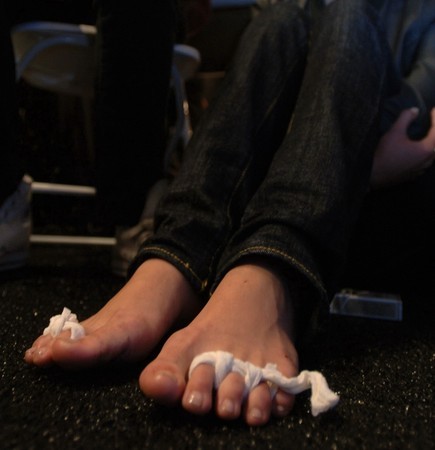
NAIL/CUTICLE CARE
After cleaning underneath the nails, gently push back the cuticle. Do not cut it or you may cause the cuticle to grow back up the nail bed. Pushing cuticles back trains them to stay down for longer periods of time. Next, trim the nails and file down any jagged edges.
Don't: Cut the cuticle; push it down instead.
Estimated time: 6 minutes
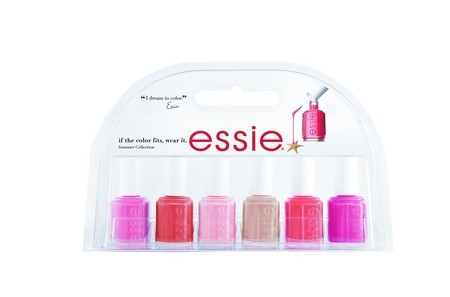
PERFECT POLISH
Start with a base coat or a ridge filler if you have uneven nail beds. Next, smooth on two coats of polish. Make sure the first coat dries first before applying the second, which will lengthen the life span of your polish. Your top coat is the final step here and it's not just for shine. "The top coats seals the polish," says Frederick. "When you bang your nails, you bang the top coat, not the polish so you also avoid chips."
Don't: Apply just one coat of nail polish.
Estimated time: 7 minutes
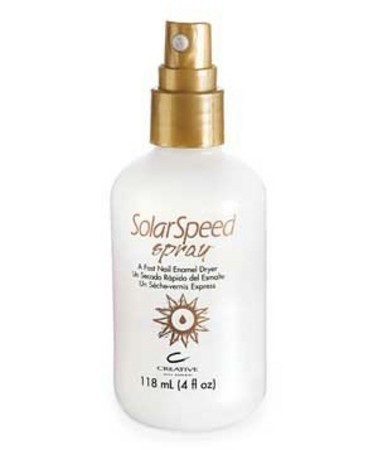
DRYING
If you don't consider the drying step a crucial part of the pedicure, you will wind up cursing the decision and repeating the perfect polish step entirely. Take a few minutes to let nails air dry and don't attempt to rush the process with a blow dryer. It can create bubbles. Instead, consider an oil spray that expedites the drying process. Clients at Ritual Salon & Spa enjoy a spritz to finish off their pedis and scented ones take care of any pungent polish smell.
Don't: Use a blow dryer to dry nails.
Estimated time: 5 minutes