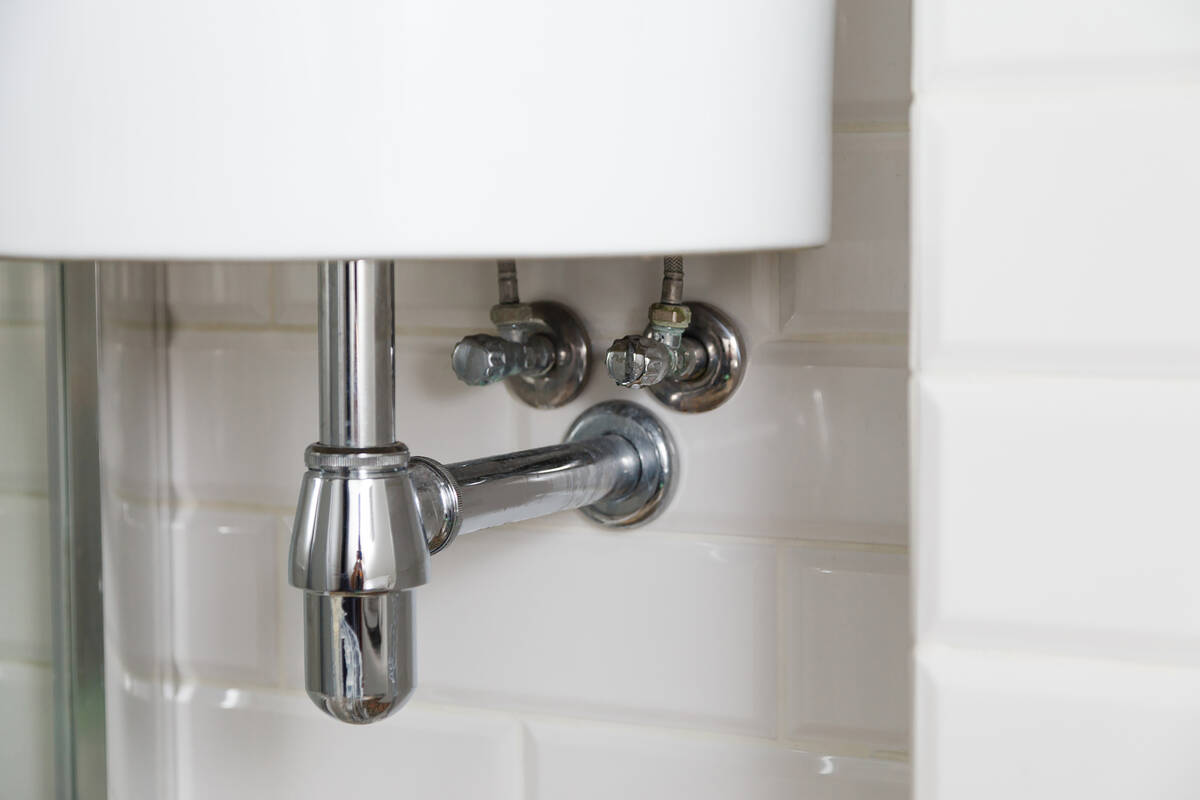
End your water torture by fixing leaky supply valve
Q: I was going to replace my bathroom faucet, but when I tried to turn off the water under the sink, the valve started leaking and it won’t stop. I’ve postponed the faucet replacement until I can figure this out. Please help.
A: To some people, the rhythmic sound of water dripping is soothing. To others, it’s torture.
Your problem has some possible quick fixes or, at the worst, you’ll need to replace a $15 valve.
Many of these valves (aka angle stops) have plastic parts that will crack easily if you put too much torque on them.
Underneath the knob of the valve is a packing nut. Turn the nut clockwise one-eighth of a turn. If this doesn’t stop the leak, read on.
Shut off the water to the house at the main. Turn on a faucet to relieve the water pressure, then remove the packing nut by turning it counterclockwise. Pull out the stem (the stick that is attached to the knob) and have a rag handy to soak up the water that drains out.
Clean the washers on the stem and make sure they are still pliable. You can buy replacement washers at a hardware or plumbing supply store, but for the trip I would replace the whole valve. Wrap a short length of packing (like Teflon tape except that it’s rolled and looks like a piece of string) under the packing nut and screw it back on the valve body. Turn the water back on and check for leaks. If it still drips, read on.
Turn the water off again and relieve the pressure in the line. Unscrew the nut to the water supply line for the faucet.
The copper pipe coming out of the wall will have either a male adapter on the end of it or, most likely, will have no fitting at all (it will be a straight length of pipe). If you have a straight length of pipe, you have a compression fitting. A compression fitting uses no glue or solder; it squeezes a soft ferrule in between the valve’s body and a compression nut. The ferrule fills any voids that may leak.
You’ll need two wrenches to remove the valve — one to hold the valve’s body and one to hold the compression nut (or male adapter). Unscrew the valve, and be careful not to damage the pipe.
If you have a male adapter on the end of the pipe, wrap the threads three times with Teflon tape, then screw a new valve on it.
If you have a compression fitting, the replacement valve will come with a new compression nut and ferrule. However, you can keep the old ferrule and nut on the pipe and reuse them because it’s tough to get the old ones off of the pipe without damaging it. Stick the new valve on the end of the pipe and align it so that the water supply line will attach easily to it.
As you push the valve onto the pipe, screw on the compression nut by hand. Break out the two wrenches and crank it down. Reattach the water supply line and turn the water back on.
If there’s a leak, give the nut another one-eighth turn and your water torture will end.
Mike Klimek is a licensed contractor and owner of Las Vegas Handyman. Send questions to handymanoflasvegas@msn.com or 4710 W. Dewey Drive, No. 100, Las Vegas, NV 89118. Visit handymanoflasvegas.com.
Do it yourself
Project: Repair a leaking water supply valve
Cost: Under $15
Time: Under one hour
Difficulty: ★★★


