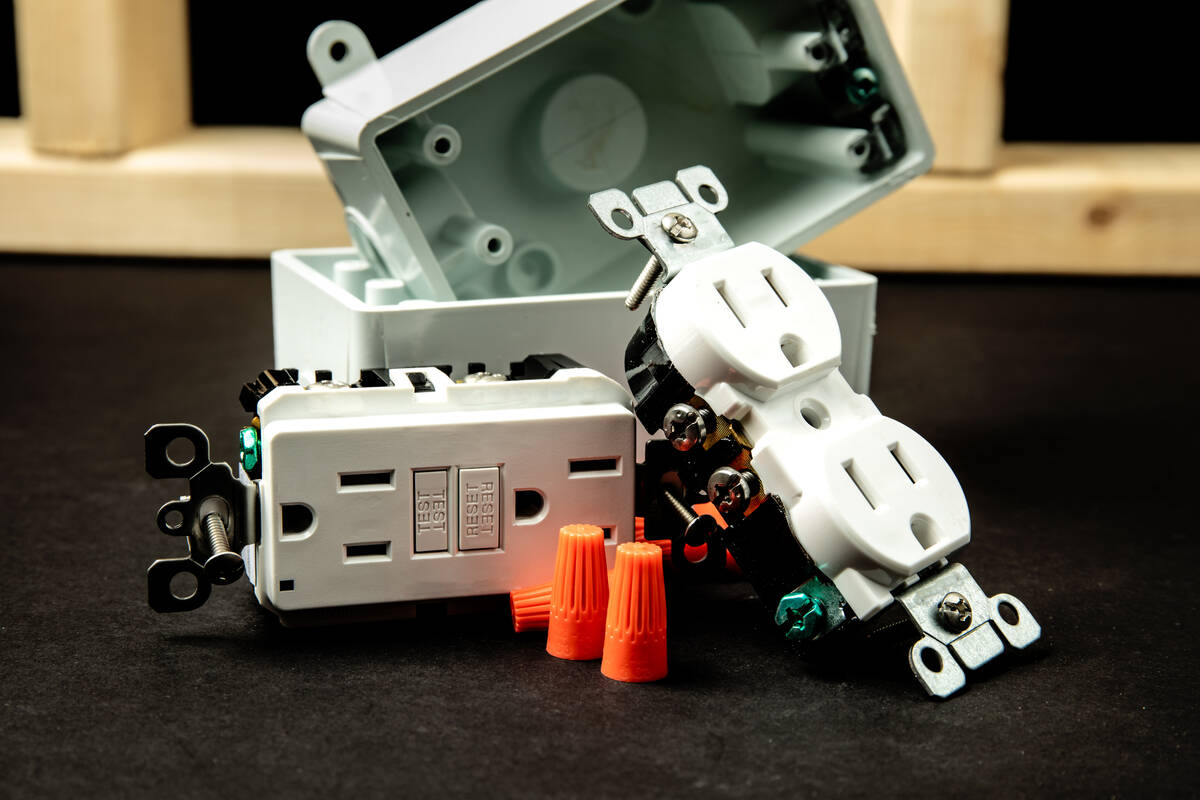
Low-cost GFCI only takes about 30 minutes to install
Q: We’re selling our house, and the buyer had an inspection done on it. The bad news is that our bathroom needs a ground-fault circuit interrupter (GFCI) installed. It’s the only outlet in the bathroom, and the inspector, who was surprised that there was no GFCI present, wants us to fix the problem. How is this done?
A: I’m also surprised that you don’t have a GFCI receptacle in your bathroom. Usually, there are GFCIs in the kitchen, baths, garage and outdoors. It may be that a previous owner replaced the GFCI with a regular receptacle. A new GFCI will cost less than $20 and take about 30 minutes to install.
A GFCI is a safety tool that protects against electrical shock caused by a faulty plug, cord or appliance. It senses small changes in electrical current and can shut off the power faster than you can blink your eyes. Without this protection, you might get a hair-raising experience that would make any stylist envious. But all kidding aside, a GFCI could save you from a potentially deadly shock.
The GFCI receptacle has two buttons in the middle to periodically test that it is functioning properly. One button is labeled “test” and the other is “reset.” When you press the test button, the power to that receptacle should shut off immediately. To restore power, depress the reset button.
The power to additional receptacles might also shut off if they are downstream of the GFCI, that is if they receive their power from that particular GFCI. In this case, those additional outlets should be labeled “GFCI-protected outlet,” but this is not always the case.
You may have GFCI protection though you don’t see a GFCI outlet. In your home’s main electrical panel, there might be a GFCI circuit breaker. This breaker has a test switch on it to ensure that the outlets in the circuit are operating properly.
To replace the old outlet with a GFCI, turn off the power at the main circuit panel and test the outlet to make sure the power is off. Remove the outlet’s cover plate, then remove the screws that hold the outlet in place and gently pull it out.
If you’re going to wire just the one outlet for GFCI protection, pigtail the white neutral wires together with a wire nut, then connect the pigtail to the terminal marked “white line” on the GFCI. “Pigtailing” refers to using a short length of wire to connect two or more circuit wires to the same screw terminal on the receptacle.
Disconnect all black hot wires from the brass screw terminals on the old outlet and connect the pigtail to the “hot line” on the GFCI. If a grounding wire is present, connect it to the green grounding screw terminal on the GFCI. Mount the GFCI in the receptacle box and reattach the cover plate. Turn the power back on and test the GFCI.
If you plan on wiring the GFCI for multiple-location protection, turn off the power in the main electrical panel, then test the outlet to make sure the power is off and pull out the receptacle. Disconnect and separate the hot wires and place them so that the bare ends do not touch anything. Restore power to the circuit from the main panel and test the wires with a circuit tester (about $10) to determine which is the hot feed wire.
The feed wire provides power to the receptacle. Use caution because this is a live wire test — it will hurt if you touch the hot feed.
Once you’ve found the hot feed, turn the power back off at the main panel and label the hot feed wire with masking tape. Also, label the white feed wire (the one that shares the same cable as the hot feed).
Connect the grounding wire (if one is present) to the green grounding screw on the GFCI. Connect the white feed wire to the terminal marked “white line” on the GFCI. Connect the black feed wire to the terminal marked “hot line” on the GFCI.
Connect the other white neutral wire to the terminal marked “white load” and connect the other black hot wire to the terminal marked “hot load” on the GFCI.
Carefully place all of the wires into the receptacle box and attach the GFCI to the box. Replace the cover plate and turn the power back on. Test the GFCI to make sure it operates properly. You can also buy a GFCI tester (about $10) to test the GFCI and its downstream outlets.
Test it every month to maintain your shock-free environment.
Mike Klimek is a licensed contractor and owner of Las Vegas Handyman. Questions may be sent by email to handymanoflasvegas@msn.com. Or, mail to 4710 W. Dewey Drive, No. 100, Las Vegas, NV 89118. His web address is www.handymanoflasvegas.com.
Do-it-yourself
Project: GFCI installation
Cost: Around $20
Time: 30 minutes
Difficulty: ★★★


